29 Dec How to create your own Ceramic Tiles
If you’ve ever wondered how to create your own ceramic tiles, look no further. After browsing through various magazines and the design journals, I was filled with inspiration. The world of ceramic tiles is an incredibly vast one, each design creates a totally unique emotion and style to decorate the interior and exterior of architectural buildings; the variety of shapes, colours, patterns and tile configurations are a designer’s dream when it comes to reimagining spaces.
Before you begin this project, think about what you want to use these for, if the prospect of tiling a bathroom floor is too daunting, why not create a feature wall behind a sink, decorate the steps in your garden, or even transform a piece of furniture, like a desk for example. The location of your tiles might influence your design ideas, and vice versa.
How to create your own ceramic tiles: Step 1
Firstly, A high amount of grog is recommended for creating ceramic tiles, this is because the tile needs to dry evenly without any warping and a dryer clay will help achieve perfect tiles. High grog clay is strong and durable which is essential for making tiles that will be installed under foot.
There are a couple of ways to create your own ceramic tiles, but it depends on how much equipment you have access to. Using a slab roller will ensure your tiles all have the same thickness, however, if you have mastered the rolling pin method, this will also be an efficient way to achieve strong tile – just make sure you have wedged your clay well, to ensure there are no air holes.
Once you have your slabs ready, you can use a stainless steel tile cutter (like this one online at Angela Colls), which allows you to cut the same size tile as many times as you need, this will achieve consistency and speed up the cutting process. Alternatively, you can use guides and stencils to cut your tiles by hand- keep a ruler handy to ensure your tiles are the dimensions that you require, whether square or rectangular, hexagonal tiles are much more difficult to cut by hand, so we suggest using a cutter.
Step 2: Drying
Drying your tiles is a very important step in the process, before you carry out any trimming or finishing activities, wait until your tiles are leather-hard so that they can be picked up easily without them bending. Some ceramicists dry their tiles between a sheet of dry-wall, or you can place them on a metal rack which keeps the tiles flat and helps them dry evenly.
Step 3: Bisque fire
Once your tiles are completely dry they are ready to bisque fire! Stack them in the kiln to utilise all the space, you should use a couple of shelves to ensure your tiles don’t fall or become unbalanced, which could result in breakages.
Step 4: Design and Decoration
This is the part we’ve all been waiting for, the decoration process is the favourite step for many artists, as we can finally see our visions and ideas come to life. Put pencil to paper and sketch some designs that work best for your project. If you are very tech proficient, you can even mock up your design in Adobe Photoshop before you begin letting you visualise the space, colours, scale and overall atmosphere. The decoration process can be quite time consuming
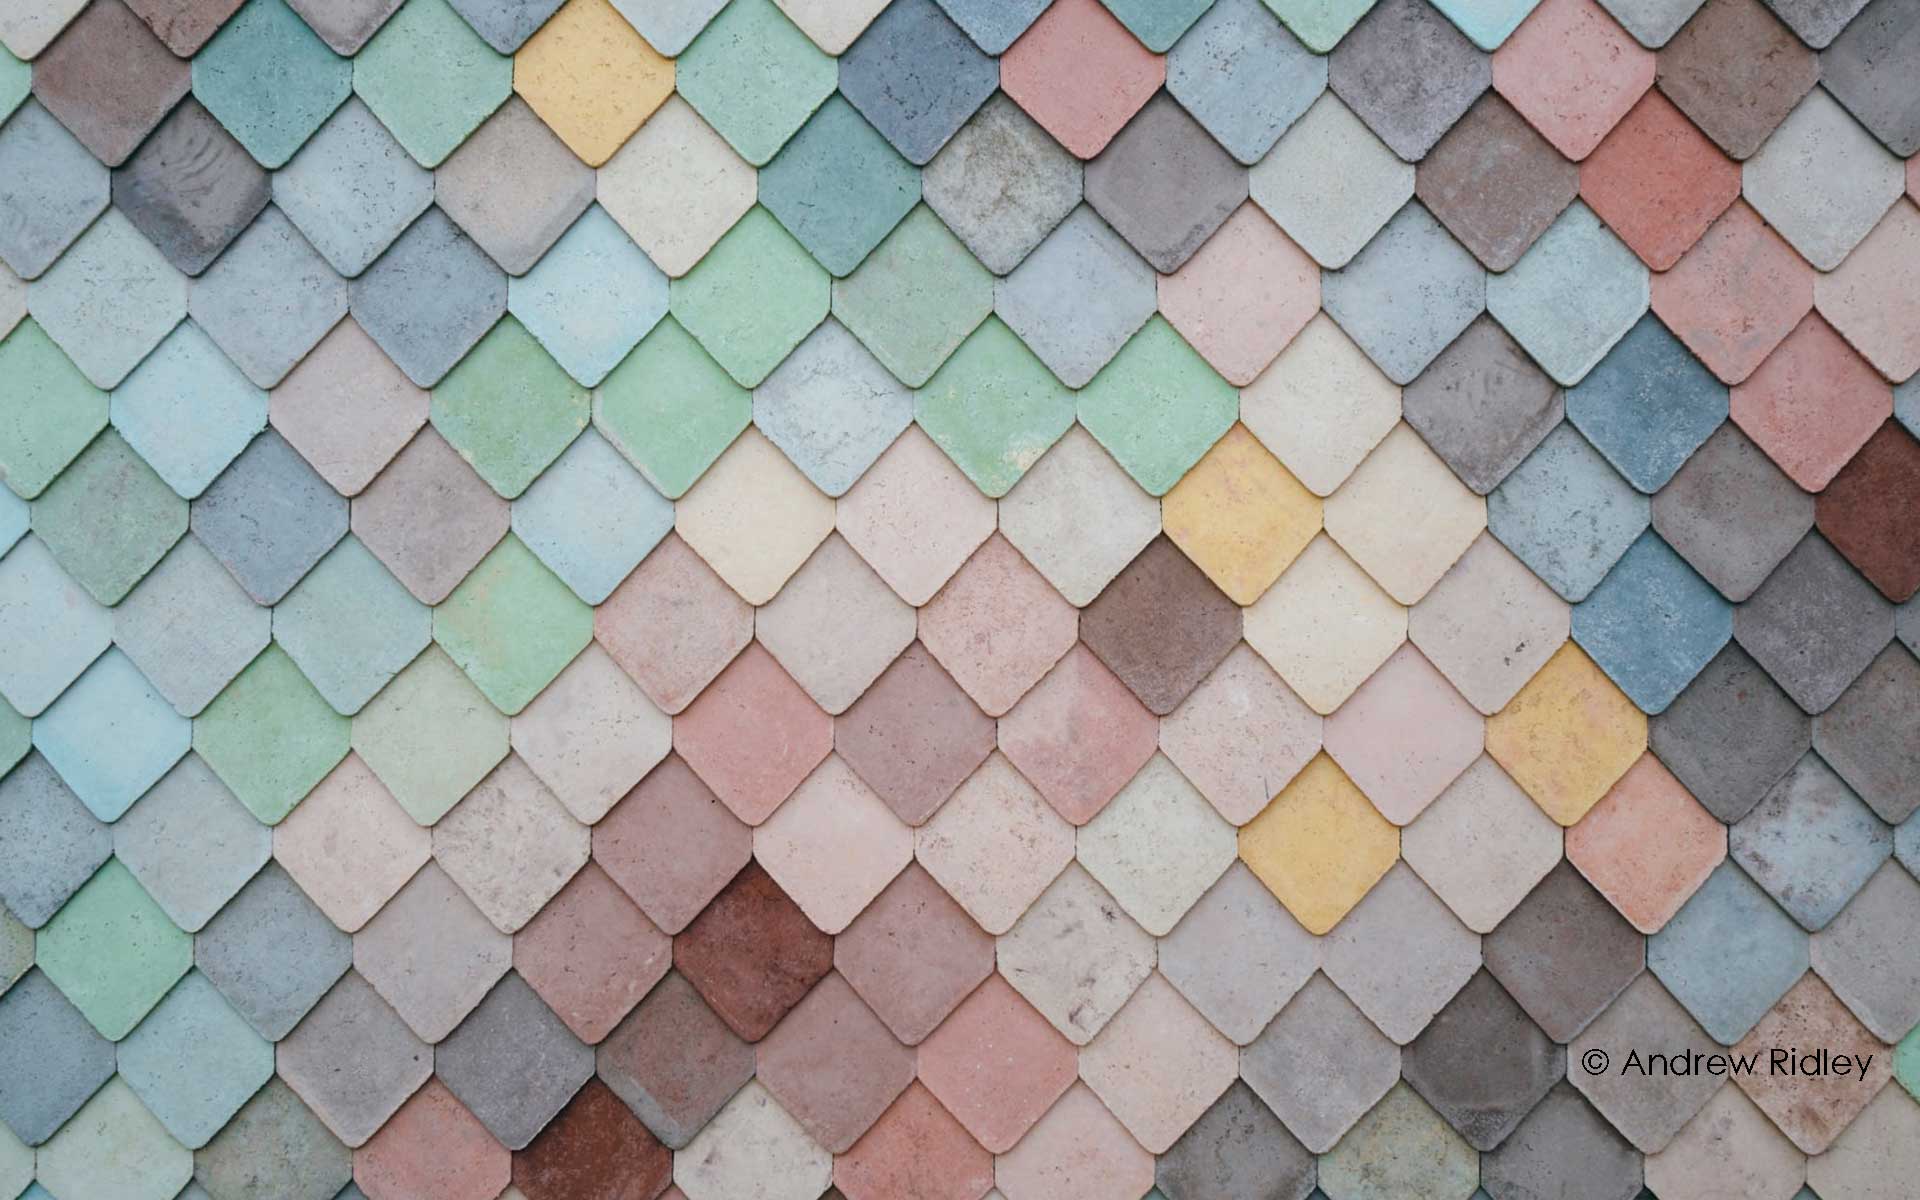
Geometric: Geometric tile designs show off the beauty of regularity, they are a wonderful way to enhance the presence of straight edges within furniture, or equally bring contrast to more round, fluid shapes in the home. Think diamond shapes, rectangular, hexagons and triangles. These shapes are easy to create by applying tape to your tile, followed by a swift brush of engobes in the colour of your choice.
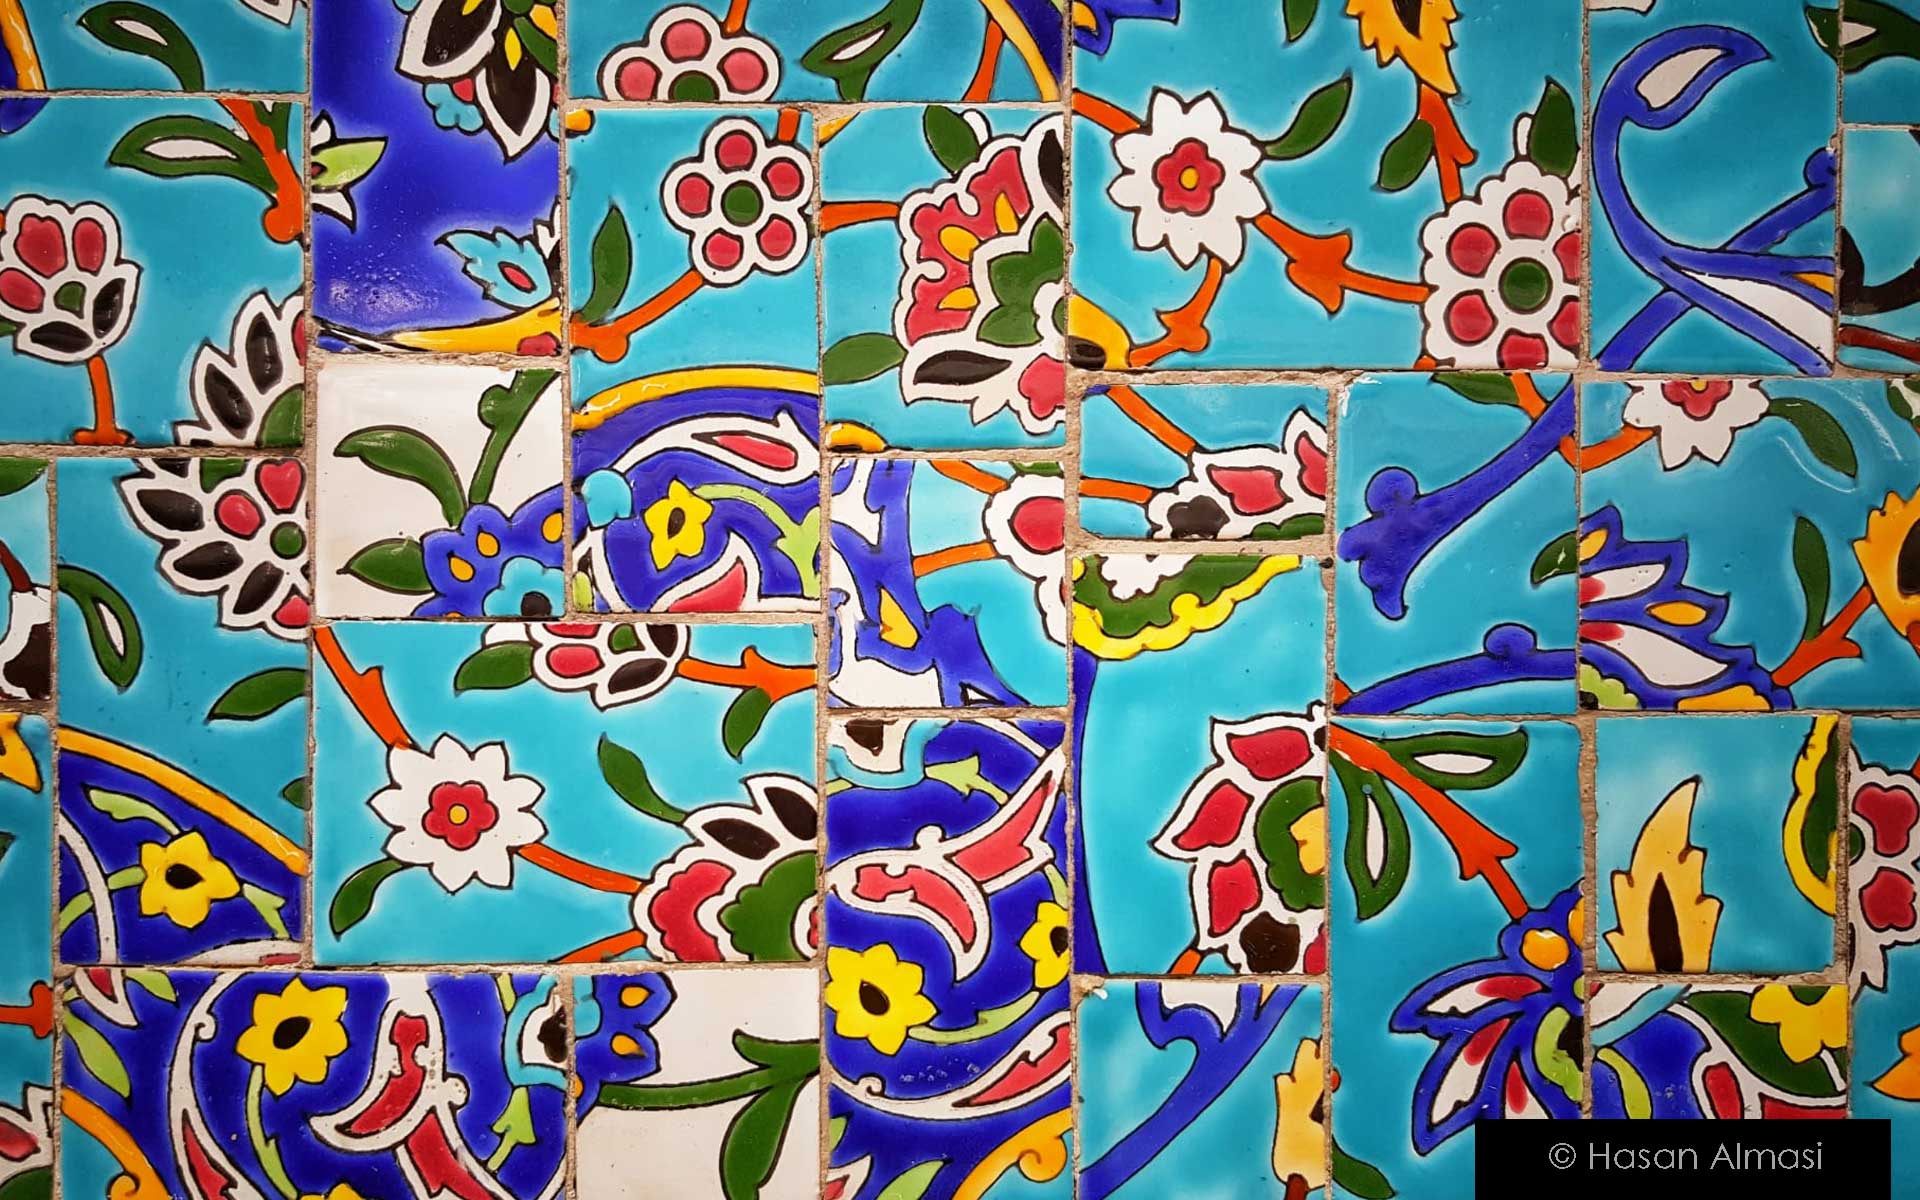
Floral: Floral designs add an eccentric flair to the home, you can either create a stencil of a floral design using paper and a scalpel, or paint it on by hand repeating the same design or adding variations along the way.
Contemporary: There are so many cool and contemporary tiles designs to be inspired by, and here, there are no rules! Choose between bold colours, freehand eclectic illustrations, or illusion type mind bending designs to take your home decor style to the next level!
You might decide to use a transparent glaze to add a glossy finish to your tiles, depending on your preference. Now you’ll be ready to lay the tiles and transform your space at home with your unique handmade tiles!
137° offers open studio access on Thursdays on an hourly basis, allowing artists freedom and flexibility to use the studio’s professional equipment. To book your sessions, visit this page for more information.
Written by Freya Saleh


