08 Apr The Freedom of Hand-building


The freedom of hand-building allows for versatility, spontaneity and flexibility throughout your ceramic practise. Hand-building is a process that many of us use in everyday life, without even knowing it, for example the process of making bread and pastry has similarities to clay building; children who use playdough or even Lego are practising valuable techniques that we use in pottery. In the article, we will talk about the three methods that are most popularly used, pinch, coils and slabs. The freedom of hand-building is a hugely valuable experience for any ceramicist, it makes us feel like we are back at the beginning learning the basics and the beauty of pottery.
137° Ceramic Art Studio is hosting a 16-hour Hand-building & Decoration workshop in May, you can read more about the course and details on dates and pricing here.
Pinch method
The method of pinching is excellent for those who are complete beginners to the world of pottery, but it is also a necessary skill no matter what level you are at. The ability to make a pinch pot is a crucial technique and it teaches the ceramicist a huge variety of skills. The pinch method is totally reliant on your hands, more specifically your thumbs and fingertips, as these are the only tools you implement throughout the process. Making a pinch pot is about control, if you pinch the clay with too much pressure, and too quickly, you risk having thin, unstable walls that will collapse. By slowing down the pinch process and carefully considering the thickness of the clay, you’re more likely to create a successful pinch pot that is stable and balanced in weight.
Making a pinch pot is one of the more straightforward projects in ceramics, however this doesn’t mean that you end up with simple, boring results. The freedom of hand-building allows you to shape and sculpt both simple and complex forms. Using the pinch method can provide you with cups, pitchers, vases… there are endless results! There is also room to think outside the box; you can take two pinch pots and attach them together, creating a hollow egg-like shape which you can further build upon. Many sculptors use this method when creating a clay portrait.
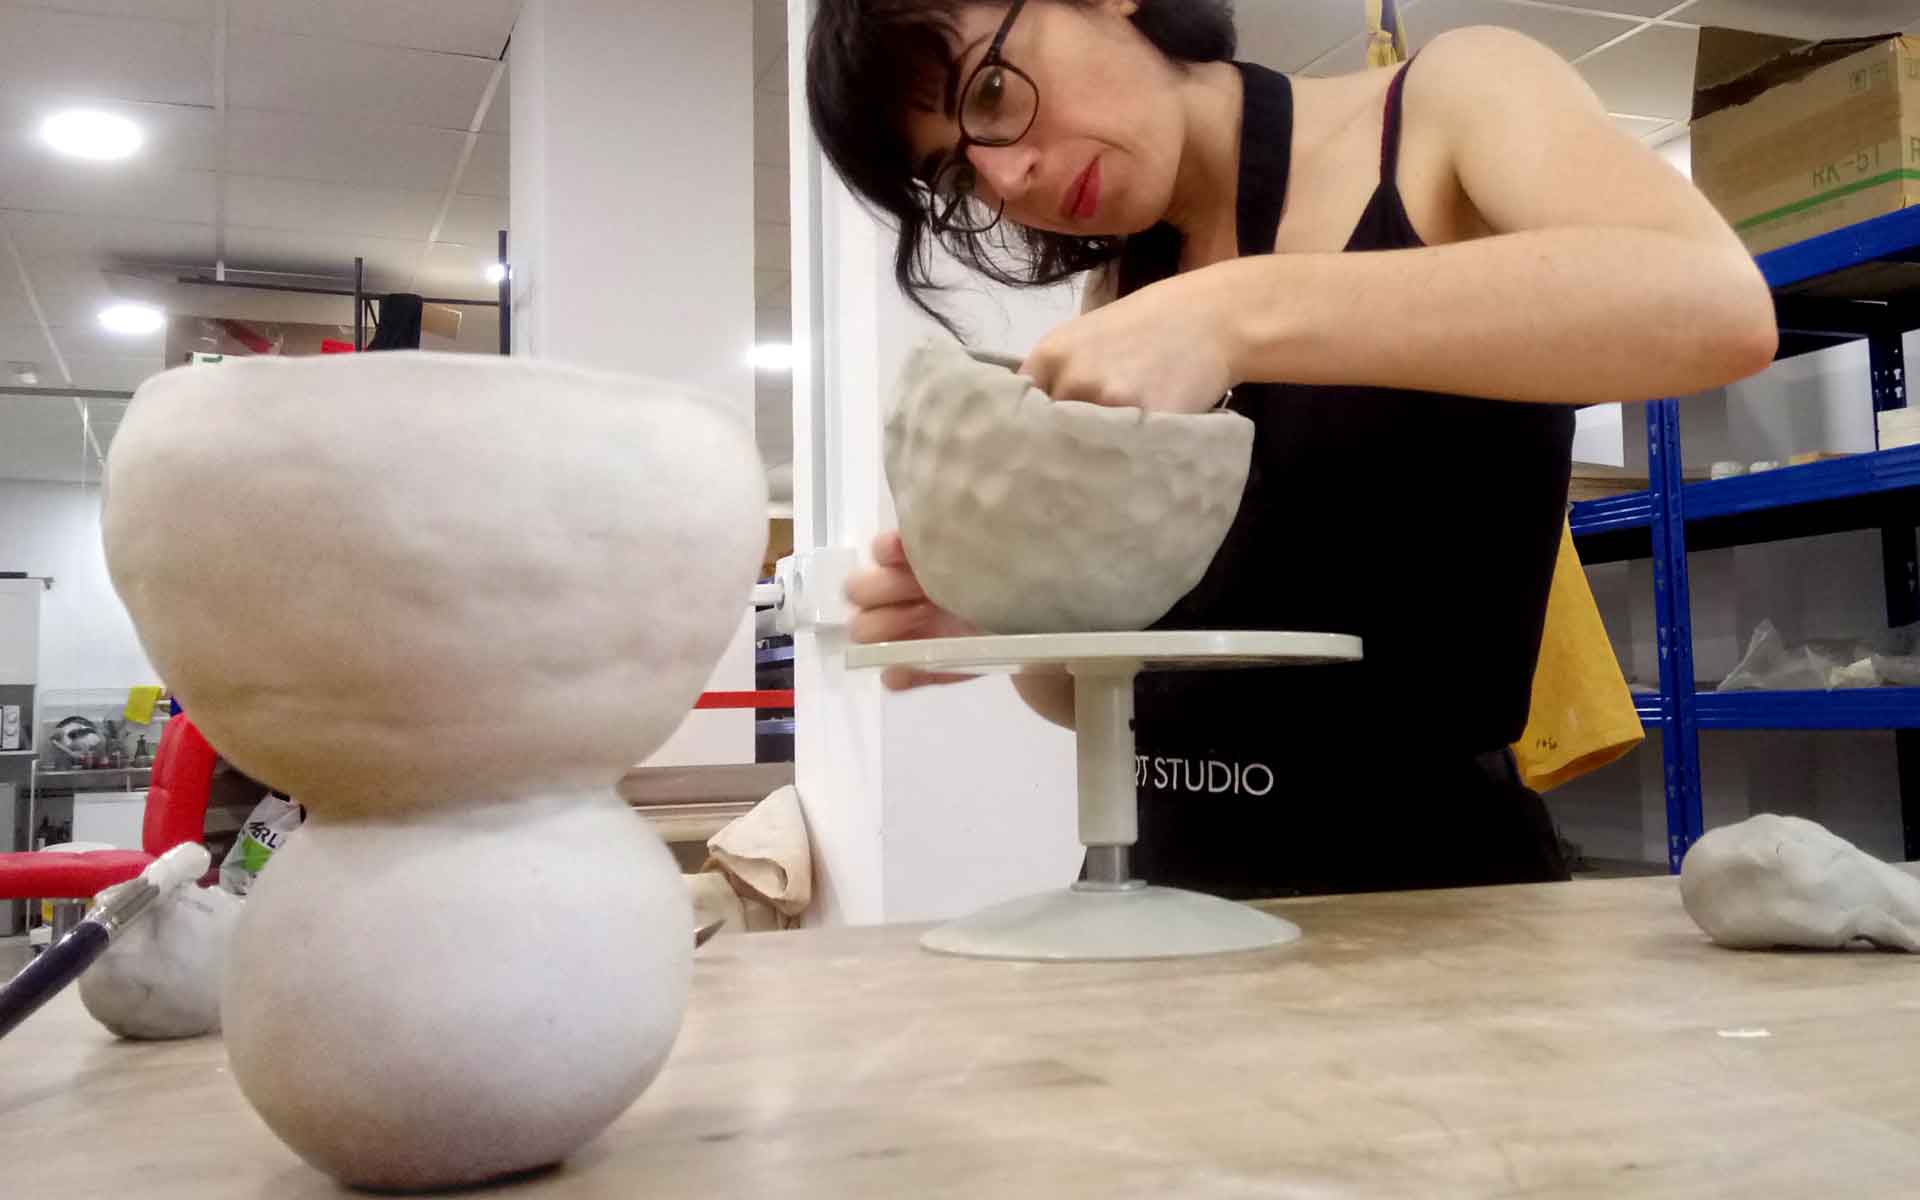
Coil method
If you’re a ceramicist without the luxury of a potter’s wheel, using coils is a great method for building simple and complex, functional and sculptural forms. If you’re a ceramicist that likes to take part in every stage of the process, then making your own coils is a great practise to get into. Whilst its very tempting to use a clay extruder to create perfect, quick coils, rolling your own coils allows you to further connect with ceramics and the ‘hand made’ process.’ Plus, it’s also a very satisfying process! The coil method is excellent for building large pieces over a length of time. The freedom of hand-building allows you to keep control over your size and shape, even when you haven’t decided what your finished pot should look like, allowing you to make spontaneous decisions with your piece. When building a coil pot, make sure to score the clay and add a layer of slip to ensure that you get a firm bond between each layer. Smoothing the layers on both the inside and outside will ensure less cracks and a stronger wall. Use a wooden kidney to make the seams between each coil invisible, and no one will know you didn’t use a potter’s wheel!
Ceramicist Zhu Ohmu has a distinctive style of ceramics utilising coils. Her work embraces the Japanese philosophy of wabi-sabi, ‘the acceptance of transience and imperfection’. Take a look at her inspiring work.
Slab method
The slab method is also very versatile. Slabs can create decorative tablets that are scored into with tools, as well create three-dimensional sculptures and functional pieces. If you don’t have access to a rolling table, you can use wooden batons and rulers as guides when rolling out your clay. Use a rolling pin to achieve flawlessly smooth clay.
Angela Colls offers a complete range of hand-building tools to execute your projects, check out her website.
Depending on your project, it’s best to decide first what softness of slabs are required. If your piece contains more fluid, organic shapes, softer slabs will enable greater flexibility and flow throughout your work. In this case, be sure to use a slab that is thick enough to maintain strength and stability for more complex shapes.
Leather-hard clay is optimal for more architectural and structural projects that require stability. Be sure not to use clay that is too dry, as the slabs won’t withstand movement and are highly likely to crack and fall apart. One way to know whether your piece requires the use of slabs is to ask whether there are any corners, if yes, then you should definitely think about drawing up a plan to bring multiple slabs together. For example, a rectangular garden planter is a great project that consists of 5 slabs, one bottom, and four sides. Then, with the leftover rolled clay, you can cut decorative shapes and adhere these to your planter. I like to design small templates first to use as a guide when I’m cutting a repeated shape.
Another technique is to drape a slab over a 3D shape, for example a fruit bowl. Using a flat-edge tool, you can carefully tap the clay to mould around the shape, ironing out any folds or creases. This technique provides a really quick solution if you’re trying to achieve a particular shape.
The freedom of hand-building opens the door to greater creativity. The more you practise these different methods, the more likely you are to experiment and combine the processes together, resulting in new ceramic knowledge and inspiring projects!
Written by Freya Saleh